How to Install Windows XP: For Dummies
Friday 12 July 2013
Microsoft released Windows XP on 24th
August 2001. It made a greatest revolution in the history of Microsoft’s
Windows. Windows XP delivered a better GUI (Graphical User Interface) than
Microsoft Windows 98 SE, but Windows 98 does not support Large Disk Spaces and
Partitions. Windows XP is released with 2 initial versions and many
Manufacturer’s supported for the release of Windows XP and made it a grand
success. Windows XP supports easy installation of hardware and it obtains
hardware drivers automatically if it is connected to the Internet.
Installing Windows XP is not as hard as
Installing Windows 98. The setup of Windows XP is simple, better and reliable.
Till today more use Windows XP in their PCs and prefer XP to use due to its
stability.
To install Windows XP the following
configuration is needed and Microsoft is still giving a support to Windows XP
till April 2014
RAM: 64MB or Higher
HDD: 2GB of FDS (Free Disk Space) or Higher
Processor: Any Intel 4th Stepping
Processors (PII or Higher)
Now we see Step by Step how to install
Microsoft’s Windows XP in an Easier Way:
You need a bootable disk to install a copy of
Windows XP. Download a .iso image and burn it using a freeware to a 700MB
compact disk. Change your boot device in BIOS to CD/DVD Drive
When you get booted you will get an image like
below:

Press ENTER key to continue to next page.

In this page read
the EULA (End User License Agreement) and press F8 key if you agree and abide
to EULA. Else if you are installing the pirated copy of Windows reading the
EULA is not necessary. If you want to quit the setup press ESC key it will
cancel your Windows installation and restart your computer. If you agree the
EULA this will proceed to next screen.

It’s the time to
select and create your partition if you want to install Windows to an already
portioned hard disk select the partition to which you want to install the
windows and press enter and follow the instructions on the screen.
If you want to
partition your hard disk. Follow the instructions on the installation screen
but be sure that partitioning the hard disk erases the existing data on your
disk.

After creating the
partitions it will be in the RAW format. For installing Windows XP you need a
partition formatted in NTFS or FAT file system. Select the type of file system
you want to format with the selected partition. I recommend NTFS file system,
because this file system has all advanced options and enables file compression
to the partition


When the setup
finished copying the files it configures the hard disk to boot the Windows XP
to the GUI based setup. If the CD/DVD drive boots first and asks for “Press any
key to boot from CD.. “ please don’t press and keys and you let the hard disk
to boot first.
When the hard disk
boots up you will see the below screens.

When the setup
finishes installing its drivers the Informational Screen appears to setup your
computer name, administrator password and time zones etc... You need a valid CD
Key to install your copy of Microsoft Windows XP.

Click on next and
continue to enter the desired System Name, Organization and Serial key which
you have bought from Microsoft.


Please don’t try
the key which I have entered above because the serial key depends on the copy
of windows setup provided.


Select your time
zone according to your country and click on “Next”.

After installing
the network components some system asks for network settings. If asked please
click on Typical Settings radio button and keep pressing next button. The
following screens appear and follow the instructions to install your copy of
Windows XP.
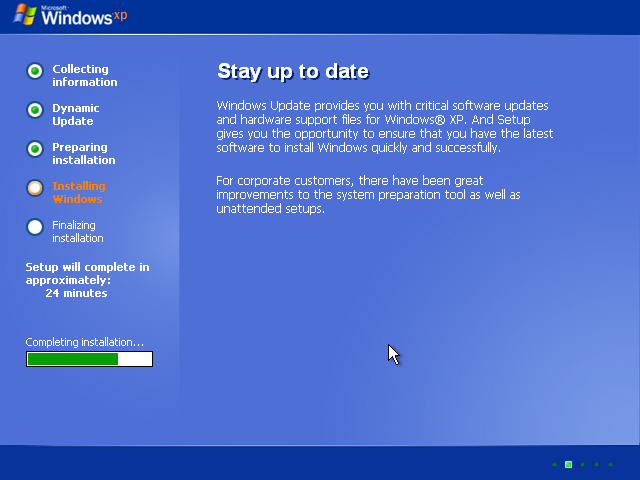


Now it’s the time
to setup the basic settings for your windows.
You have
successfully installed your Windows if you see this screen. In some computers
there may be colour problems it may be due to your display drivers get your
latest driver from your system manufacturer.
That’s it
Folks….!!! It’s so simple to install Windows XP in your system..!!!!

0 comments:
Post a Comment